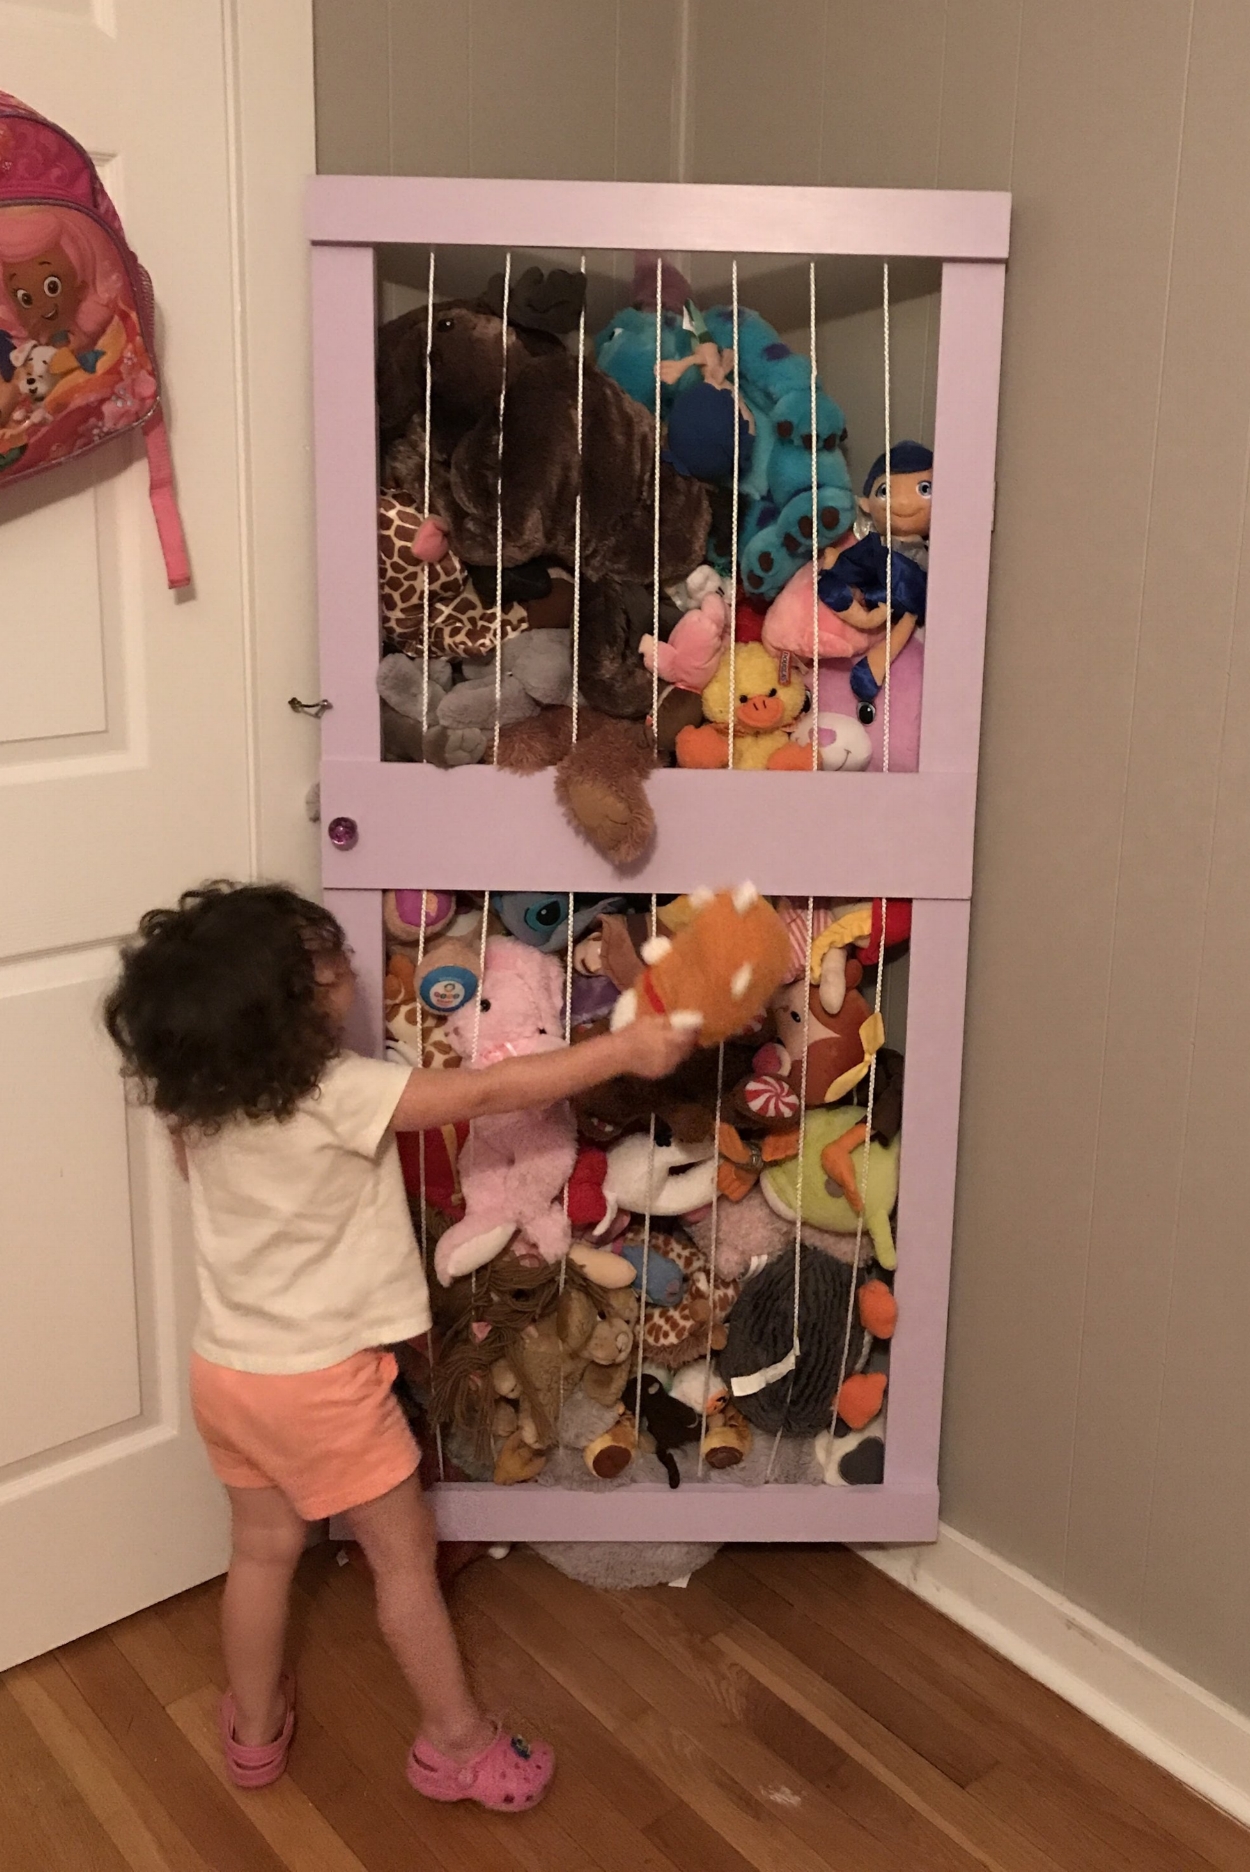
We made a zoo!

So we didn’t really make a zoo, just a new home for all the stuffed animals. Like many kids, my daughter has a lot of stuffed animals. Hers were all stuffed into a flimsy overflowing toy box in her room that I really didn’t like. Since I’m starting to think about transitioning her from a toddler bed into a “big girl room” I thought a stuffed animal zoo would be the perfect starting project.
Here's the spot were working with. Notice the overflowing box of stuffed animals in the corner.
I’ve seen this idea all over Pinterest for the past couple years and had hoped to make it one day. They always looked so big to me and I was a little worried about it toppling over. I kept eyeing the wasted space behind her bedroom door, wondering what I could put there. It is just shy of two feet deep, and any furniture would be impractical. So would a huge animal zoo.
Until I had the idea for a corner stuffed animal zoo.
Not only would it be secured to the wall but it would take up dead space in the room! Looking online I saw some people made free-standing corner units, but I made it a little simpler. I made a door! It looks awesome and it was so easy to make I knew I had to share!
Here’s what you’ll need:
- 1x3 wood (I used plain ol’ pine since I knew I would be painting it)
- 1x6 wood
- Nylon rope
- Eye hooks
- Latch
- Decorative knob
- Hinges
- Wood screws
- Paint
- Drill and/or screwdriver
Process:
Determine the space you’re working with and measure the diagonal to get the door width. In our space the short wall was 19” not including the trim so I measured out 19” the other direction and made a mark. Then I measured the endpoints to get the width of the door. You’ll need two pieces of 1x3 in this measurement and one 1x6 for the middle. Height is your choice. I made this 60” so that I only needed to buy two 8' boards. A good to know tip is that Lowes and Home Depot both make straight cuts for free when you buy their lumber. This saved me from using a power saw with a toddler! It also makes the wood much easier to transport home.
I screwed each corner together using two wood screws placed diagonally from each other. Pine is a soft wood so be careful if you're using a drill for this part.
Once I had the materials I screwed the boards together, overlapping the horizontal pieces on the outside of the door, then we gave it a couple coats of paint. You can obviously choose to stain the wood instead, but I think it's easier to get a toddler to paint wood as opposed to staining wood!
My helper for the day! I attached the middle board last because I thought I didn't have short enough screws and would have to glue it in place instead, but I found the screws I needed. (I know, "Cool story, bro.")
Once it was all dry, we attached the middle support and brought it inside to start making the “cage.” Measuring out from the center, we placed seven hooks top and bottom. (Some people also put an extra row of hooks in the middle but I liked the extra wiggle room it provided to get the toys out.) Getting the eye hooks in is a bit of a pain. you could either by a special bit that will help screw it in for you with a drill, or just do what I did. Once I got it started a bit I put a screwdriver in the hole and used it for leverage. Made it much easier! I wound the rope through and pulled it taut. Even pulled tight it left enough give to easily get the animals in and out.
You can see in this photo how I weaved the rope up and down for the cage part. I tied a square knot on each end. It's also good practice to glue your knots after you tie them to prevent them from undoing, but I want to see how the rope stretches from use before doing that.
After that we were ready to drill a hole and attach the handle then we attached the hinges and secured it to the wall. Since it’s a fairly light door and I was screwing into wood I didn’t worry about anchoring it. If you’re putting this in drywall I definitely suggest wall anchors though. The final step is to attached the gate hook so it stays closed.
The (almost) finished product! Little Miss loved putting her stuffed animals in this!
All in, this took 5 hours to complete, including shopping for the supplies and nap time. Not bad for an afternoon! We’re going to go to the craft store this weekend to get some letters and animals to paint and decorate it, but it looks great already and her room looks so much neater!
Anyone ever make or buy one of these before? How do you like it?


