Review of Rust Oleum Garage Floor Epoxy

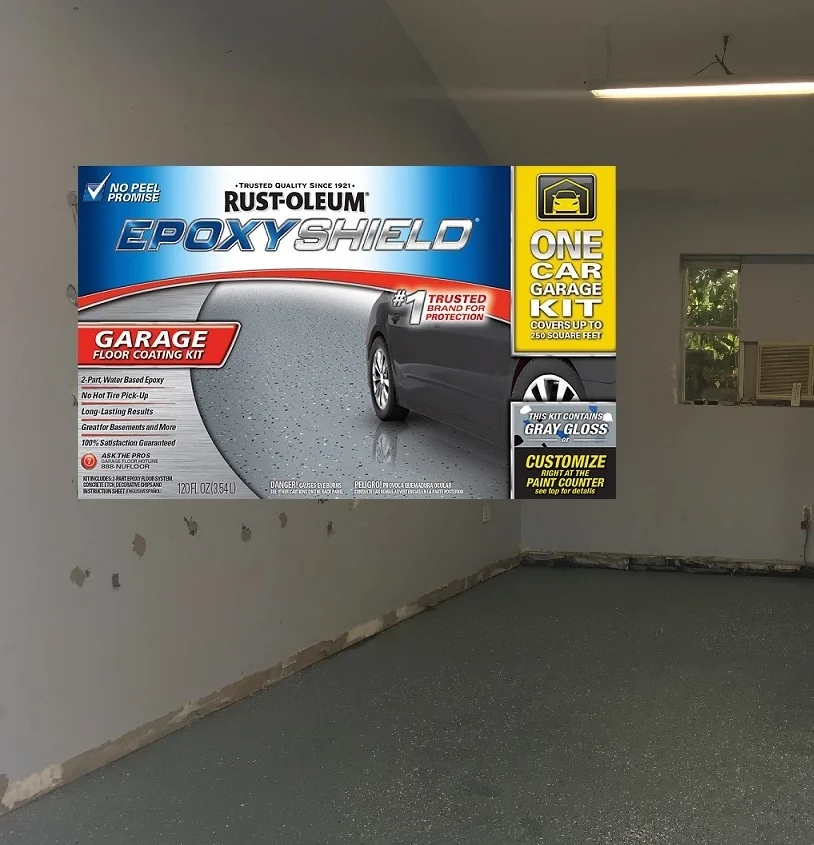
Okay, so it doesn't look as good as the box but trust me, it looks great! (Also, we didn't put the high gloss top coat on it so that may have something to do with it.)
So you’ve read the first post on what we’ve got planned for the garage. Ready for the progress?
Phew! It took some work to get it to this point but I’m so happy it’s done! But let’s backtrack on the process…
Once we figured out the workout room in the basement was a no-go, we immediately got to work removing the old tiles in the garage. The tiles popped off no problem since the water intrusion ruined the bond to the adhesive.
I bought a special $20 heavy-duty tool to help remove the adhesive. This $5 scraper worked the best, rust and all.
That adhesive though… that was the tough part.
We scraped.
We chipped.
We gave up for a while to do other things.
Then strolling through Lowe’s one Saturday (as we frequently do multiple times because can’t we ever just buy what we need all at once without forgetting anything?!) we saw a dinged up box of floor epoxy on sale and figured it was about time we got back to the garage.
We purchased Rust Oleum Epoxyshield 2-part Garage Floor Epoxy kit. It’s marketed as an easy to apply professional looking garage floor coating, and it’s low-VOC. It says it’s ideal for garages, basements and workshops.
There are two things to keep in mind before using this product. First, that the epoxy is right for the floor. It can’t be used on sealed concrete, concrete with flaking paint, concrete with high-moisture problems or concrete that wasn’t cured properly. Ignoring those stubborn spots where we couldn’t get up the adhesive, we were golden. Second is temperature. The air temperature can only be between 55-85 degrees. Night time temps were dropping quickly in our neck of the woods so we knew we were on a deadline.
Once those two prerequisites are out of the way, it was time to prep the floor. We power washed the floor to remove any random bits of loose paint and maybe get up some of that adhesive. After a couple passes, we decided that it was good enough. If we couldn’t brute force something off the concrete, we could probably paint over it.
Pre-cleaning phase. We used to shop vac to get up the small debris, and later to help remove the water from the power washer.
Then it was off to step one of the process- cleaning the floor. If there are grease spots, Rust Oleum sells degreaser to deal with that, otherwise you just use the included concrete etch and good old fashioned elbow grease. The floor needs to be scrubbed until it’s dirt and dust free, then the water needs to be squeegeed away. At least after this workout you can take a break from the refinishing until it dries completely!
The next step is a lot more rewarding than everything else- painting and speckling.
Action shot! I rolled and Jon had the fun job of throwing the confetti. Er, I mean color chips.
Finally! The paint can go on the floor! I cut in a few places with a brush, but since we need to redo the bottom of the walls, I just used a roller for the majority of it. Working together, I used a long handled roller to paint on the floor into 6’ square sections, then Jon got the fun part. To get the flecks on, you need to toss them up into the air like confetti! Putting them on the wet paint didn’t get old. I am glad though that we purchased extra color chips though, since what was included wouldn’t have been enough with how we were tossing it! It took us less than an hour to paint the floor, cleanup included. In 12 hours, it was cured enough for us to walk on it, and two days later we moved the Bowflex in. Victory!
Yay! The spots that still have adhesive look a little darker, but it's hard to tell in person. Anyway, it's a vast improvement!
Some extra notes:
We used the one-car garage kit. We had a little extra paint leftover, but I could see if you go too heavy with it on the roller you may run out. I was careful to be a little stingy and it was still well coated. Also, I tried using a masonry roller but I found that it sucked up too much paint and coverage wasn’t great. Switching to a roller cover with a shorter nap helped a lot. And definitely buy extra of the color chips. You can always return what you don’t use.
Full disclosure: I've used Amazon affiliate links throughout this post. No company provided me with any product or compensation to write this, since we all know there are only 6 of you reading this. (Hi, Mom!) Any purchase you make using my affiliate link provides me with a small commission.


